A listing checklist for real estate agents, kept in one place
From appraisal to sale: a practical listing checklist, a way to track buyer feedback, and a weekly vendor report outline, all kept on one desk.
A listing checklist does one job: it makes every campaign run the same way, so nothing depends on you remembering it on a busy Saturday. This one runs from appraisal to settlement in six stages, then adds two things that make the weekly work lighter: a simple way to record buyer feedback as you go, and a five-part weekly report for the vendor that you can write straight from that record.
It is about organising the work, not the legal side. What goes into agency agreements, disclosures and contracts differs between states and countries, so follow your agency's own process for those and use this for everything around them.
Why listings sprawl
Each listing pulls in a dozen kinds of information. The comparables are in a spreadsheet. The photos and floor plan are in a folder. The marketing schedule is in a calendar. Buyer details and feedback are in your phone, your notes app and your memory. Offers arrive by email. The vendor is in your texts.
With one listing, that is manageable. With five or six at once, every vendor call starts with a scramble: which listing, which folder, what did that couple say on Saturday? The information exists. It is just in the wrong places, and spread across too many of them.
The fix is the same whatever tools you use. Give each listing one home, keep the same structure in every home, and record things as they happen rather than reconstructing them on Friday afternoon. If you would like to see what that looks like before reading on, you can build a desk for your own role in the interactive demo: choose your role, describe the listing you are working on, and it sets up a desk for it.
The listing checklist
Keep this as a template and copy it for every new listing. The order matters less than doing every item every time.
1. Appraisal and agreement
- Property details: address, land and floor areas as documented, inclusions and exclusions, standout features, and any issues the vendor has raised.
- Comparables: recent nearby sales of similar homes, each with its sale date and a note on how it compares (bigger block, smaller kitchen, busier street).
- The vendor's goals: timing, expectations, how they want to be updated and how often.
- Agency paperwork, done through your agency's process.
2. Preparation
- Photography and floor plan booked, checked and approved by the vendor.
- Listing copy written and approved.
- Styling, repairs and cleaning booked.
- Keys, access and alarm arrangements recorded.
3. Marketing
- A marketing schedule with dates: launch, portal listings, signboard, social posts and the email to your database.
- Open-home times set and published.
4. Open homes and inspections
- Attendance recorded the way your agency requires.
- Feedback recorded for every group, the same day (see the next section).
- Follow-up calls booked, and private inspection requests logged.
5. Offers and negotiation
- Every offer recorded with its date, conditions and status.
- The vendor told about each offer, as your process requires.
6. Sale to settlement
- Key dates in the calendar: exchange, finance, settlement, key handover.
- A thank-you to the vendor and the buyer, and a note of anything to do differently next time.
Track buyer feedback so it is ready for the vendor
Vendors want to know what buyers think, and the honest answer is usually scattered across a weekend of conversations. Record it in a table instead: one row for each group at each inspection.
Useful columns:
- Date of the inspection.
- Buyer, as a name or a reference.
- Liked: what they responded to.
- Concerns: what put them off.
- Interest: one value from a fixed list, such as Keen, Considering or Not for them.
- Next step and follow-up date.
The fixed list for Interest is what makes the table useful. Comments typed in your own words cannot be counted; a short list of choices can. By Friday you can see how many groups are keen, which concern keeps coming up, and who you still owe a call.
Look for themes rather than individual comments. One buyer mentioning traffic noise is an opinion. Several buyers mentioning it is something the vendor needs to hear. And keep buyer names out of anything you send the vendor: report what buyers said, not who said it.
In PlexiDesk, this record is a Table widget on the listing's desk. Every column has a type, such as Date, Short text or Single select, so the values stay tidy and can be counted and filtered. Make Interest a Single select column and you can switch the table to its Kanban view: each option becomes a lane, each buyer group becomes a card, and dragging a card to another lane changes its value. The same rows also show as a list, as cards, or on a month calendar if the table has a Date column, and switching views never changes the data.
A weekly vendor report in five parts
A vendor report works when it arrives on the same day every week, in the same shape, and takes the vendor two minutes to read. Five parts are enough:
- This week in numbers. Enquiries, groups through each open home, private inspections, contract requests and offers, each next to last week's figure.
- What buyers said. The two or three strongest positives and the two or three concerns that came up most, as themes.
- Offers and price feedback. Any offers received, and what buyer feedback suggests about where the price sits.
- The market around you. New comparable sales and new competing listings nearby.
- What we recommend, and what happens next. Your advice (hold the course, adjust the marketing, change the open-home times) and next week's plan.
Keep each part to a few short sentences or a small table. If the feedback table is up to date, parts 1 and 2 are a matter of counting and reading, which is why recording feedback on the day pays off on Friday.
One desk per listing
PlexiDesk gives each listing its own desk, as the page for real estate agents shows: one place where everything for that property sits side by side, and closing the desk puts it all away until the next call.
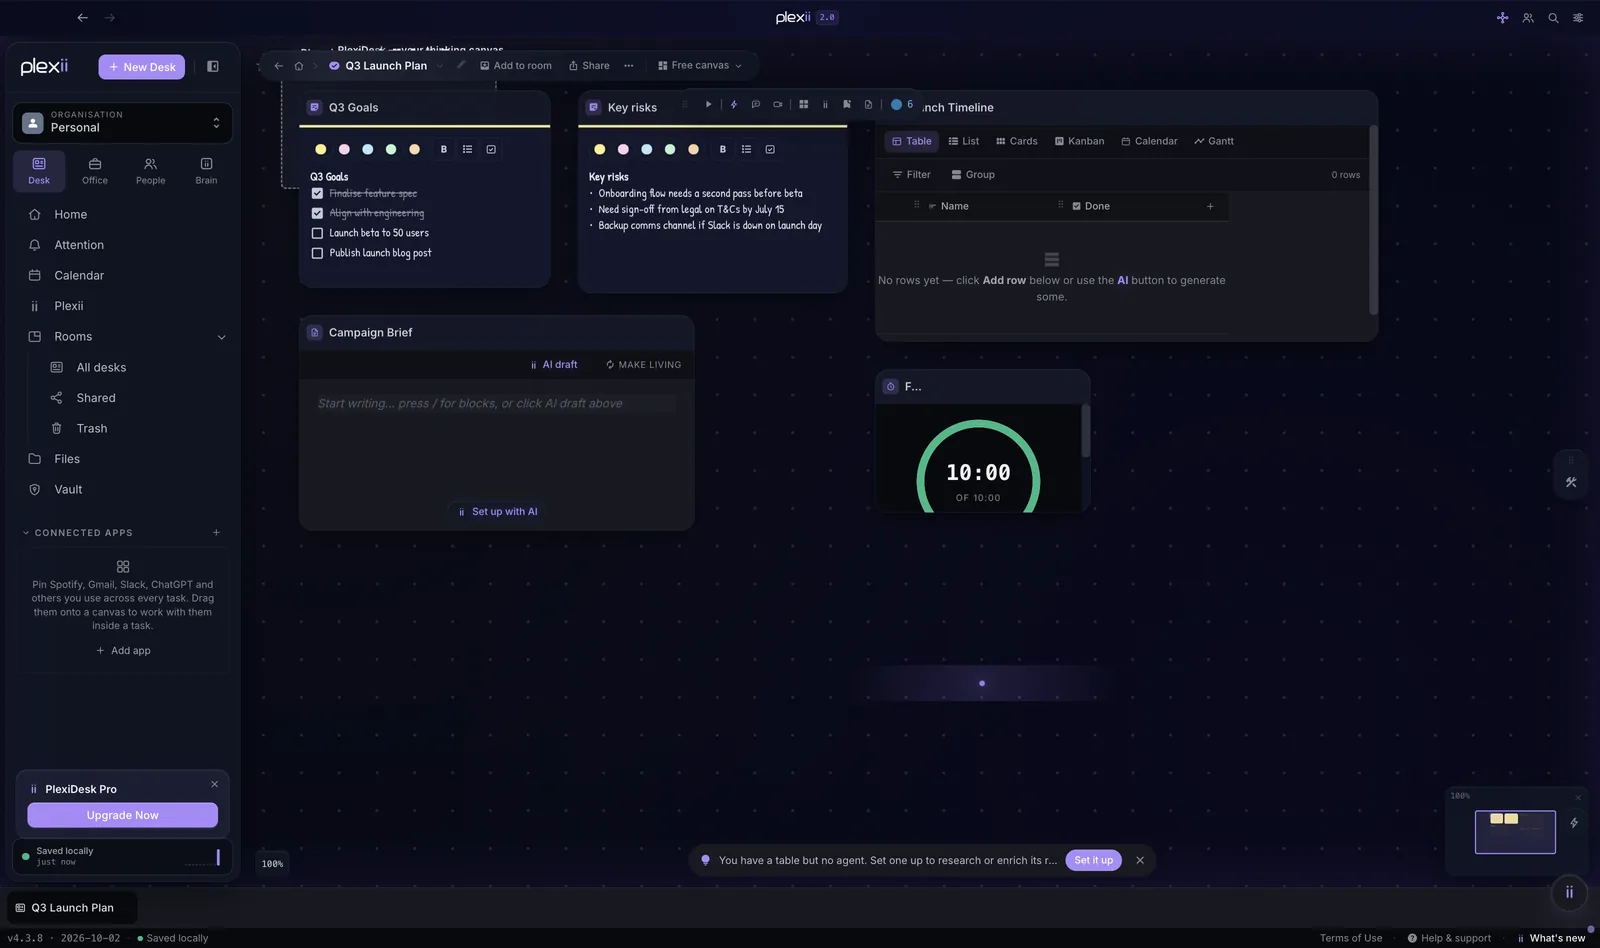
Here is how the checklist maps onto a desk:
- Comparables go in their own table, with a Number column for land size, a Date column for the sale date and a notes column for how each compares. You can import rows from a .csv or .xlsx file rather than retyping them.
- Buyer feedback goes in the table described above, viewed as Kanban when you want to see interest at a glance.
- Photos go in a Gallery widget. Drop the pictures in and they appear as a grid; click one to see it large. Each picture is copied into your workspace, so the gallery keeps working if you move the originals. A floor plan can sit in a File or link widget, which keeps the picture at its own shape.
- The address goes on a Map widget: search the address and the map centres on it with a pin, then drag and zoom to look around the area. The map needs an internet connection, and each map shows one place.
- The checklist itself can be a sticky or a Tasks widget, so you can tick items off as the campaign runs.
When Friday comes, ask Plexii, the assistant built into PlexiDesk, to draft this week's vendor report from the desk. Plexii answers from your own work and lists the sources it used, so you can open the feedback table or the comparables and check each figure. Ask for the report as a document and it arrives as a card, and at the default setting nothing changes on the desk until you apply it. Read it, correct it, take out any buyer names that came from the feedback table, and send it the way you always do. Plexii needs AI to run: PlexiDesk AI credits while you are signed in, or your own Anthropic key. The Plexii section of the product tour shows how the sources and cards work.
To keep a vendor up to date between reports, you can publish a live view: a web page of a desk that follows your changes, which the vendor can open in a web browser with no account but cannot edit. You need to be signed in to publish one. Two cautions make it work well:
- Use a separate desk for the vendor. Most of what is on a published desk appears on the page, tables included, and you do not want the buyer feedback table, with its names, in front of the vendor. A document can be placed on more than one desk, and it is the same file on both, so the vendor's desk can hold the vendor report and the listing's desk keeps working on it.
- Know what shows. Documents, tables and pictures appear on a live view; galleries, maps and task lists show as placeholders. The page updates while PlexiDesk is running on your computer, and keeps showing the last published version when it is closed.
For the wider idea of giving clients a window rather than another email, see keeping clients updated without writing another status email. If you work with designers on your marketing material, managing client feedback rounds uses the same approach from the other side of the table.
To see the whole thing in one view, build a listing desk in the interactive demo, with real estate agent as your role. Then, when you are ready, set up one real listing the same way and see how the next vendor call goes.